FREE SHIPPING ON
ALL QUALIFYING ORDERS
Enter your email below to join our mailing list:

Proper planning is an essential part of creating any fall protection system. With the myriad available products available to the residential roofer or homeowner, it might seem overwhelming to select the one “right” solution for the job, in some cases, it can be quite complicated. But, like any complicated project, instead of looking at the entire system and trying to solve it all at once, sometimes breaking up the project into its component parts can lessen the stress, make decisions clearer, and help provide a more effective and robust solution. In this article, we’ll give you some guidelines to help determine when multiple anchors may be needed for your application.
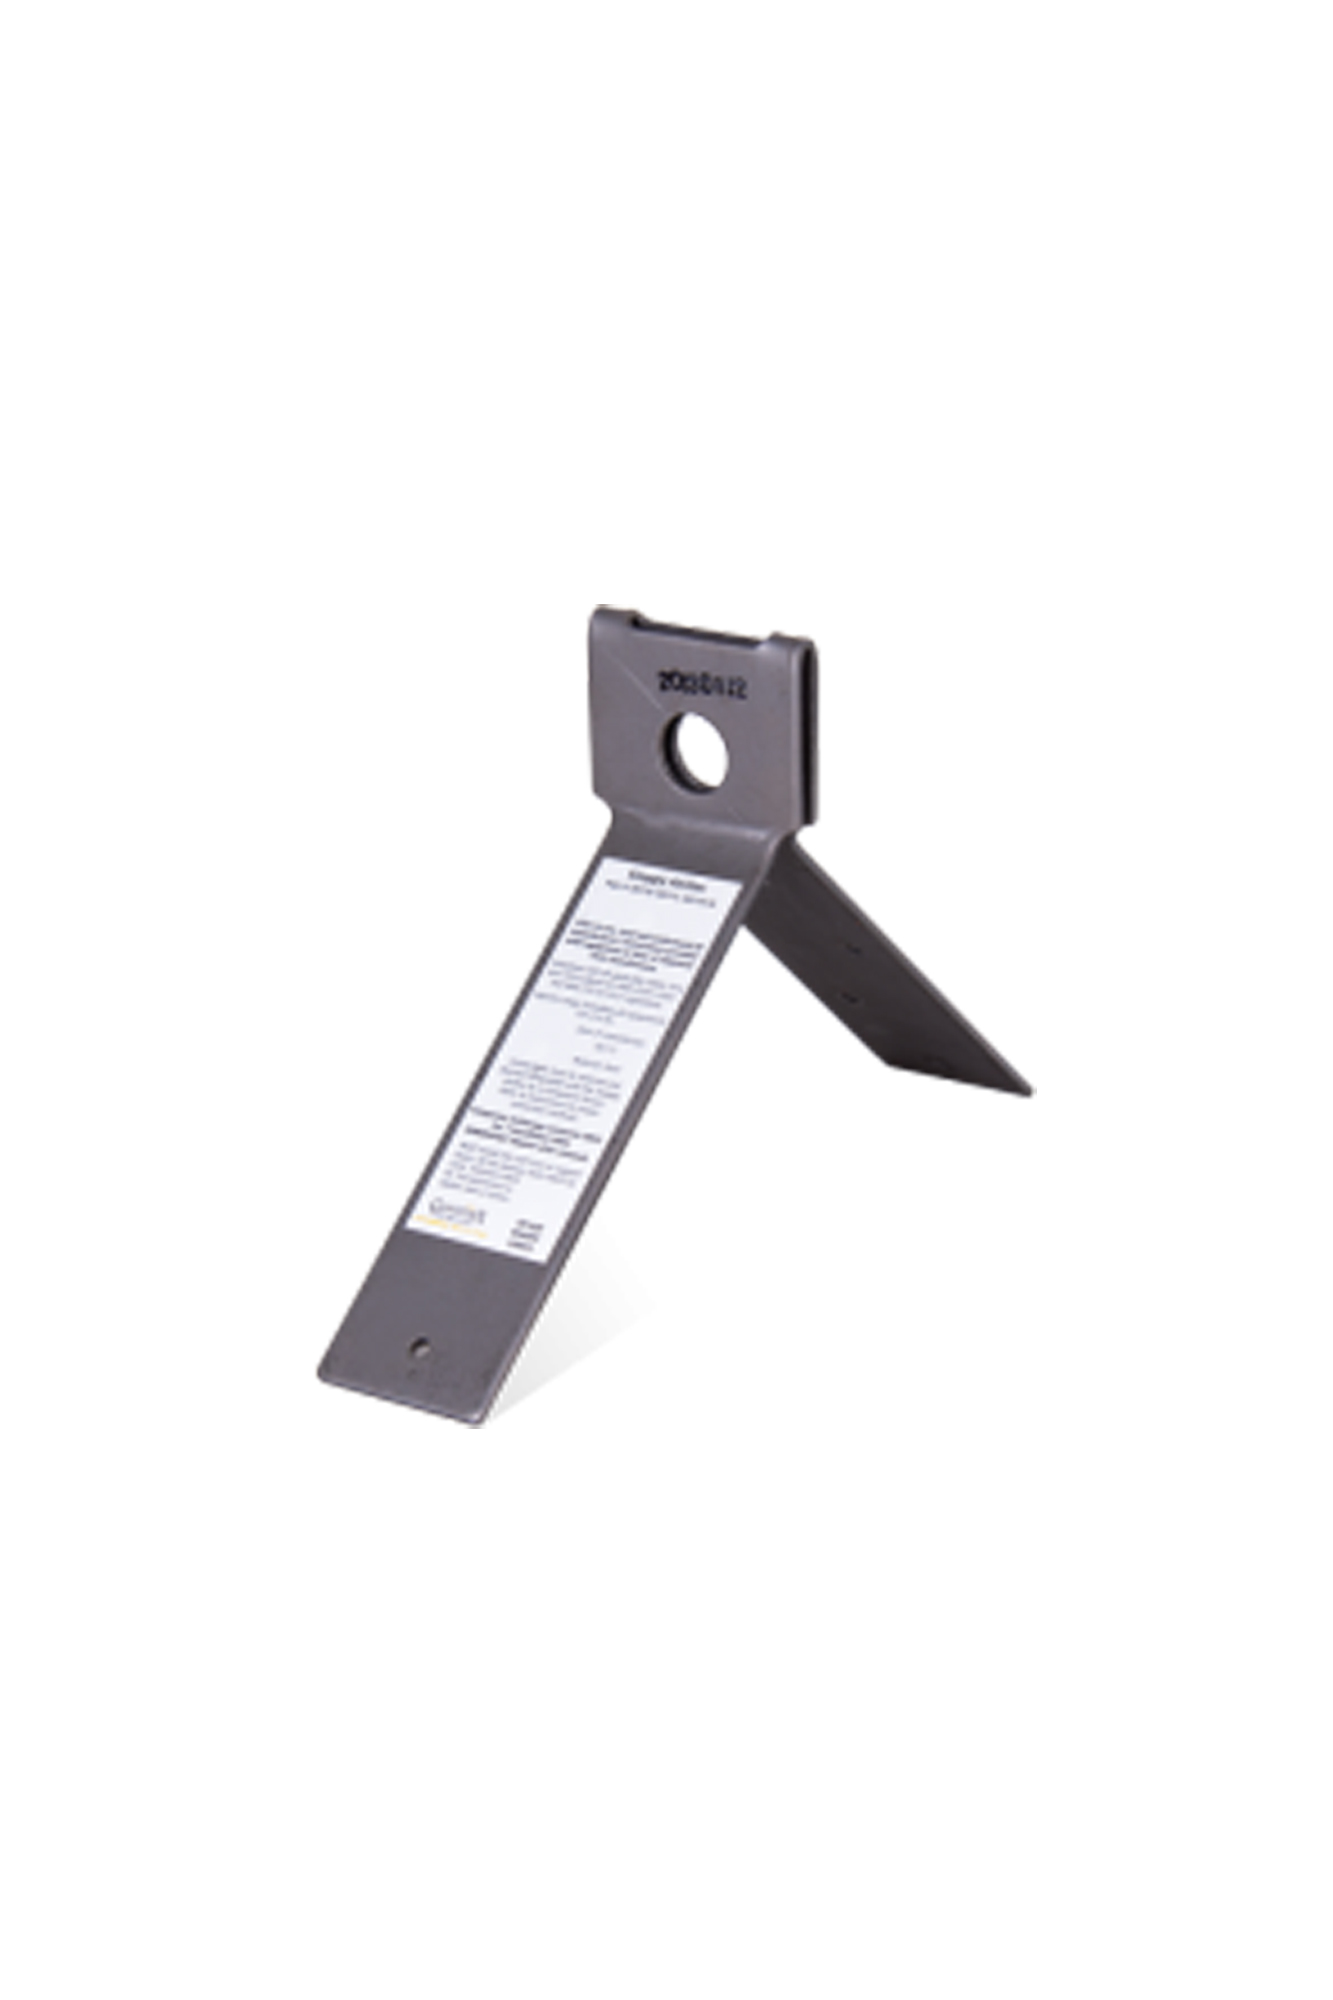
It’s important to realize that anchors are designed for optimum functionality under certain conditions but not others. Some roof anchors, such as the Temper, Snappy, and Ridge-It anchors, limit the working angle (measured from a line drawn from the anchor point down the roof perpendicular to the nearest edge) to between 21° and 53°, depending on anchor setback. The resulting “work zone” defines the amount of roof area that is safe to access under Fall Arrest conditions. This is a case where a picture is worth the proverbial 1,000 words:

Note that in the above example, a single anchor (in green) does not allow full access to the entire roof edge. In this case, three additional anchors (yellow) will be needed to allow safe access to the remainder of the roof edge. You can refer to the chart below to estimate how much roof edge you will be able to access based on anchor setback, which you can then use to determine the number of anchors you will need for your specific application.
While you might be tempted to just increase your lifeline length (using a rope grab on a VLL, for example) to access the entire roof from a single anchor, don’t do it! You will greatly increase the risk of a swing fall in the event of a fall. Remember, optimum load angles on roof anchors serve two purposes, they a) maximize anchor strength by keeping loads in approved and tested directions, and b) prevent excess lifeline extension, helping to avoid dangerous swing falls. One thing to remember when working in fall restraint only, however, Guardian permits 360 degree travel around the anchor provided you remain in fall restraint. If the application requires you to work in fall arrest, you must adhere to the load angles shown below.

Roof design is another consideration that may dictate multiple anchors are needed for a specific application. Some vented ridges may physically prevent the use of a ridge-riding anchor (such as a Snappy or Halo anchor) that allows the worker to traverse the ridge safely. In such cases, anchors must be used in pairs (one on each side of the roof) to maintain proper installation configuration. A common solution is to install a series of Temper Achhors (or Hitchclips) just below the vented ridge in the quantity needed (see image above) for proper and full access.

Other variables to consider when determining the number of anchors you will need are: How many workers will need to be tied off at the same time? Is it a hip roof (each side of a hip roof should have an anchor)? Are there multiple levels (each of which will require its own anchor solution)? What is the total amount of area that needs to be accessed? Once you have answered these questions, review the anchor instructions (all Guardian instructions can be found here) to help determine which anchor (and how many), will best serve your fall protection needs. Of course, if you have any questions, do not hesitate to contact Guardian customer service – we’re here to help.


No spam, notifications only about products and updates.

Having dealt with MK Diamond Products and the Delahauts since the mid 1990’s it is sad to hear the news that they have closed their

I’ve told my wife and daughter to never follow a mortar mixer down the interstate. For over 30 years we have sold, rented, and repaired

This question is one of the most frequent mixer related questions our rental staff are asked. Our contractor customers know the importance of using the right tools for the job.

Trowel Trades, a company that specializes in equipment rental, tool retail, repair services, scaffolding and mast climber access solutions, enters the Silver Tier of the Masonry Alliance Program.
Your email was submitted successfully.
YOUR 10% OFF COUPON CODE IS WELCOME10.
See category exclusions below.
Category Exclusions:
Arbortech Brick and Mortar Saw, Compaction, Concrete Mixers, Concrete Walk Behind Saws, Drop Hammers, Grout Hogs, iQ Power Tools, Masonry Block Saws, Masonry Brick Saws, Mast Climbers, Mortar Mixers, Mud Buggy, Saws, Scaffold, Self Dumping Hoppers, Shoring, and Stihl