FREE SHIPPING ON
ALL QUALIFYING ORDERS
Enter your email below to join our mailing list:

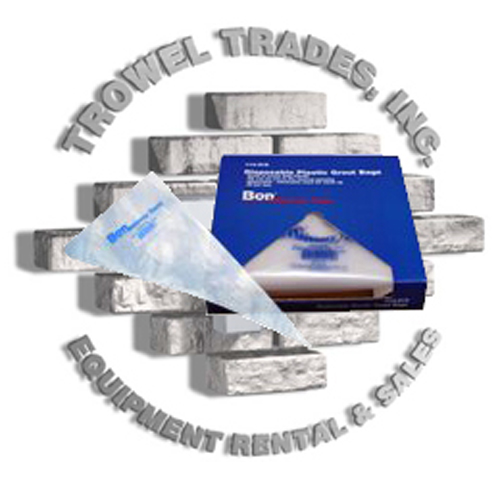
A grout bag is a handy tool that can be used to repair mortar joints in a brick wall. Mortar joints are the gaps between the bricks that are filled with a mixture of sand, cement, and water. Over time, these joints can crack, crumble, or deteriorate, which can compromise the structural integrity of the wall. Using a grout bag to repair the joints is an easy and effective way to maintain the integrity of the wall and prevent further damage.
Step 1: Gather the Materials Before beginning the repair process, gather all the materials you will need. You will need a grout bag, a trowel, a bucket, sand, cement, water, and safety glasses.
Step 2: Mix the Mortar Mix the mortar according to the instructions on the bag. The consistency of the mortar should be thick but still able to flow easily through the grout bag.
Step 3: Fill the Grout Bag Fill the grout bag with the mortar. Use a trowel to fill the bag to about two-thirds full. Squeeze out any air bubbles and twist the top of the bag to seal it shut.
Step 4: Prepare the Brick Wall Prepare the brick wall by cleaning out any debris or loose mortar from the joints. Use a trowel or a wire brush to remove any loose or crumbling mortar.
Step 5: Apply the Mortar Starting at the top of the wall, apply the mortar to the joints using the grout bag. Squeeze the bag to force the mortar into the joint, starting at one end and working your way across. Work in small sections, filling each joint completely before moving on to the next one.
Step 6: Smooth the Mortar Once the joint is filled with mortar, use a trowel or your finger to smooth the surface of the mortar. This will ensure that the joint is properly filled and sealed.
Step 7: Clean Up Clean up any excess mortar from the surface of the brick with a damp sponge or cloth. Allow the mortar to dry completely before painting or sealing the wall.


No spam, notifications only about products and updates.

Having dealt with MK Diamond Products and the Delahauts since the mid 1990’s it is sad to hear the news that they have closed their

I’ve told my wife and daughter to never follow a mortar mixer down the interstate. For over 30 years we have sold, rented, and repaired

This question is one of the most frequent mixer related questions our rental staff are asked. Our contractor customers know the importance of using the right tools for the job.

Trowel Trades, a company that specializes in equipment rental, tool retail, repair services, scaffolding and mast climber access solutions, enters the Silver Tier of the Masonry Alliance Program.
Your email was submitted successfully.
YOUR 10% OFF COUPON CODE IS WELCOME10.
See category exclusions below.
Category Exclusions:
Arbortech Brick and Mortar Saw, Compaction, Concrete Mixers, Concrete Walk Behind Saws, Drop Hammers, Grout Hogs, iQ Power Tools, Masonry Block Saws, Masonry Brick Saws, Mast Climbers, Mortar Mixers, Mud Buggy, Saws, Scaffold, Self Dumping Hoppers, Shoring, and Stihl