


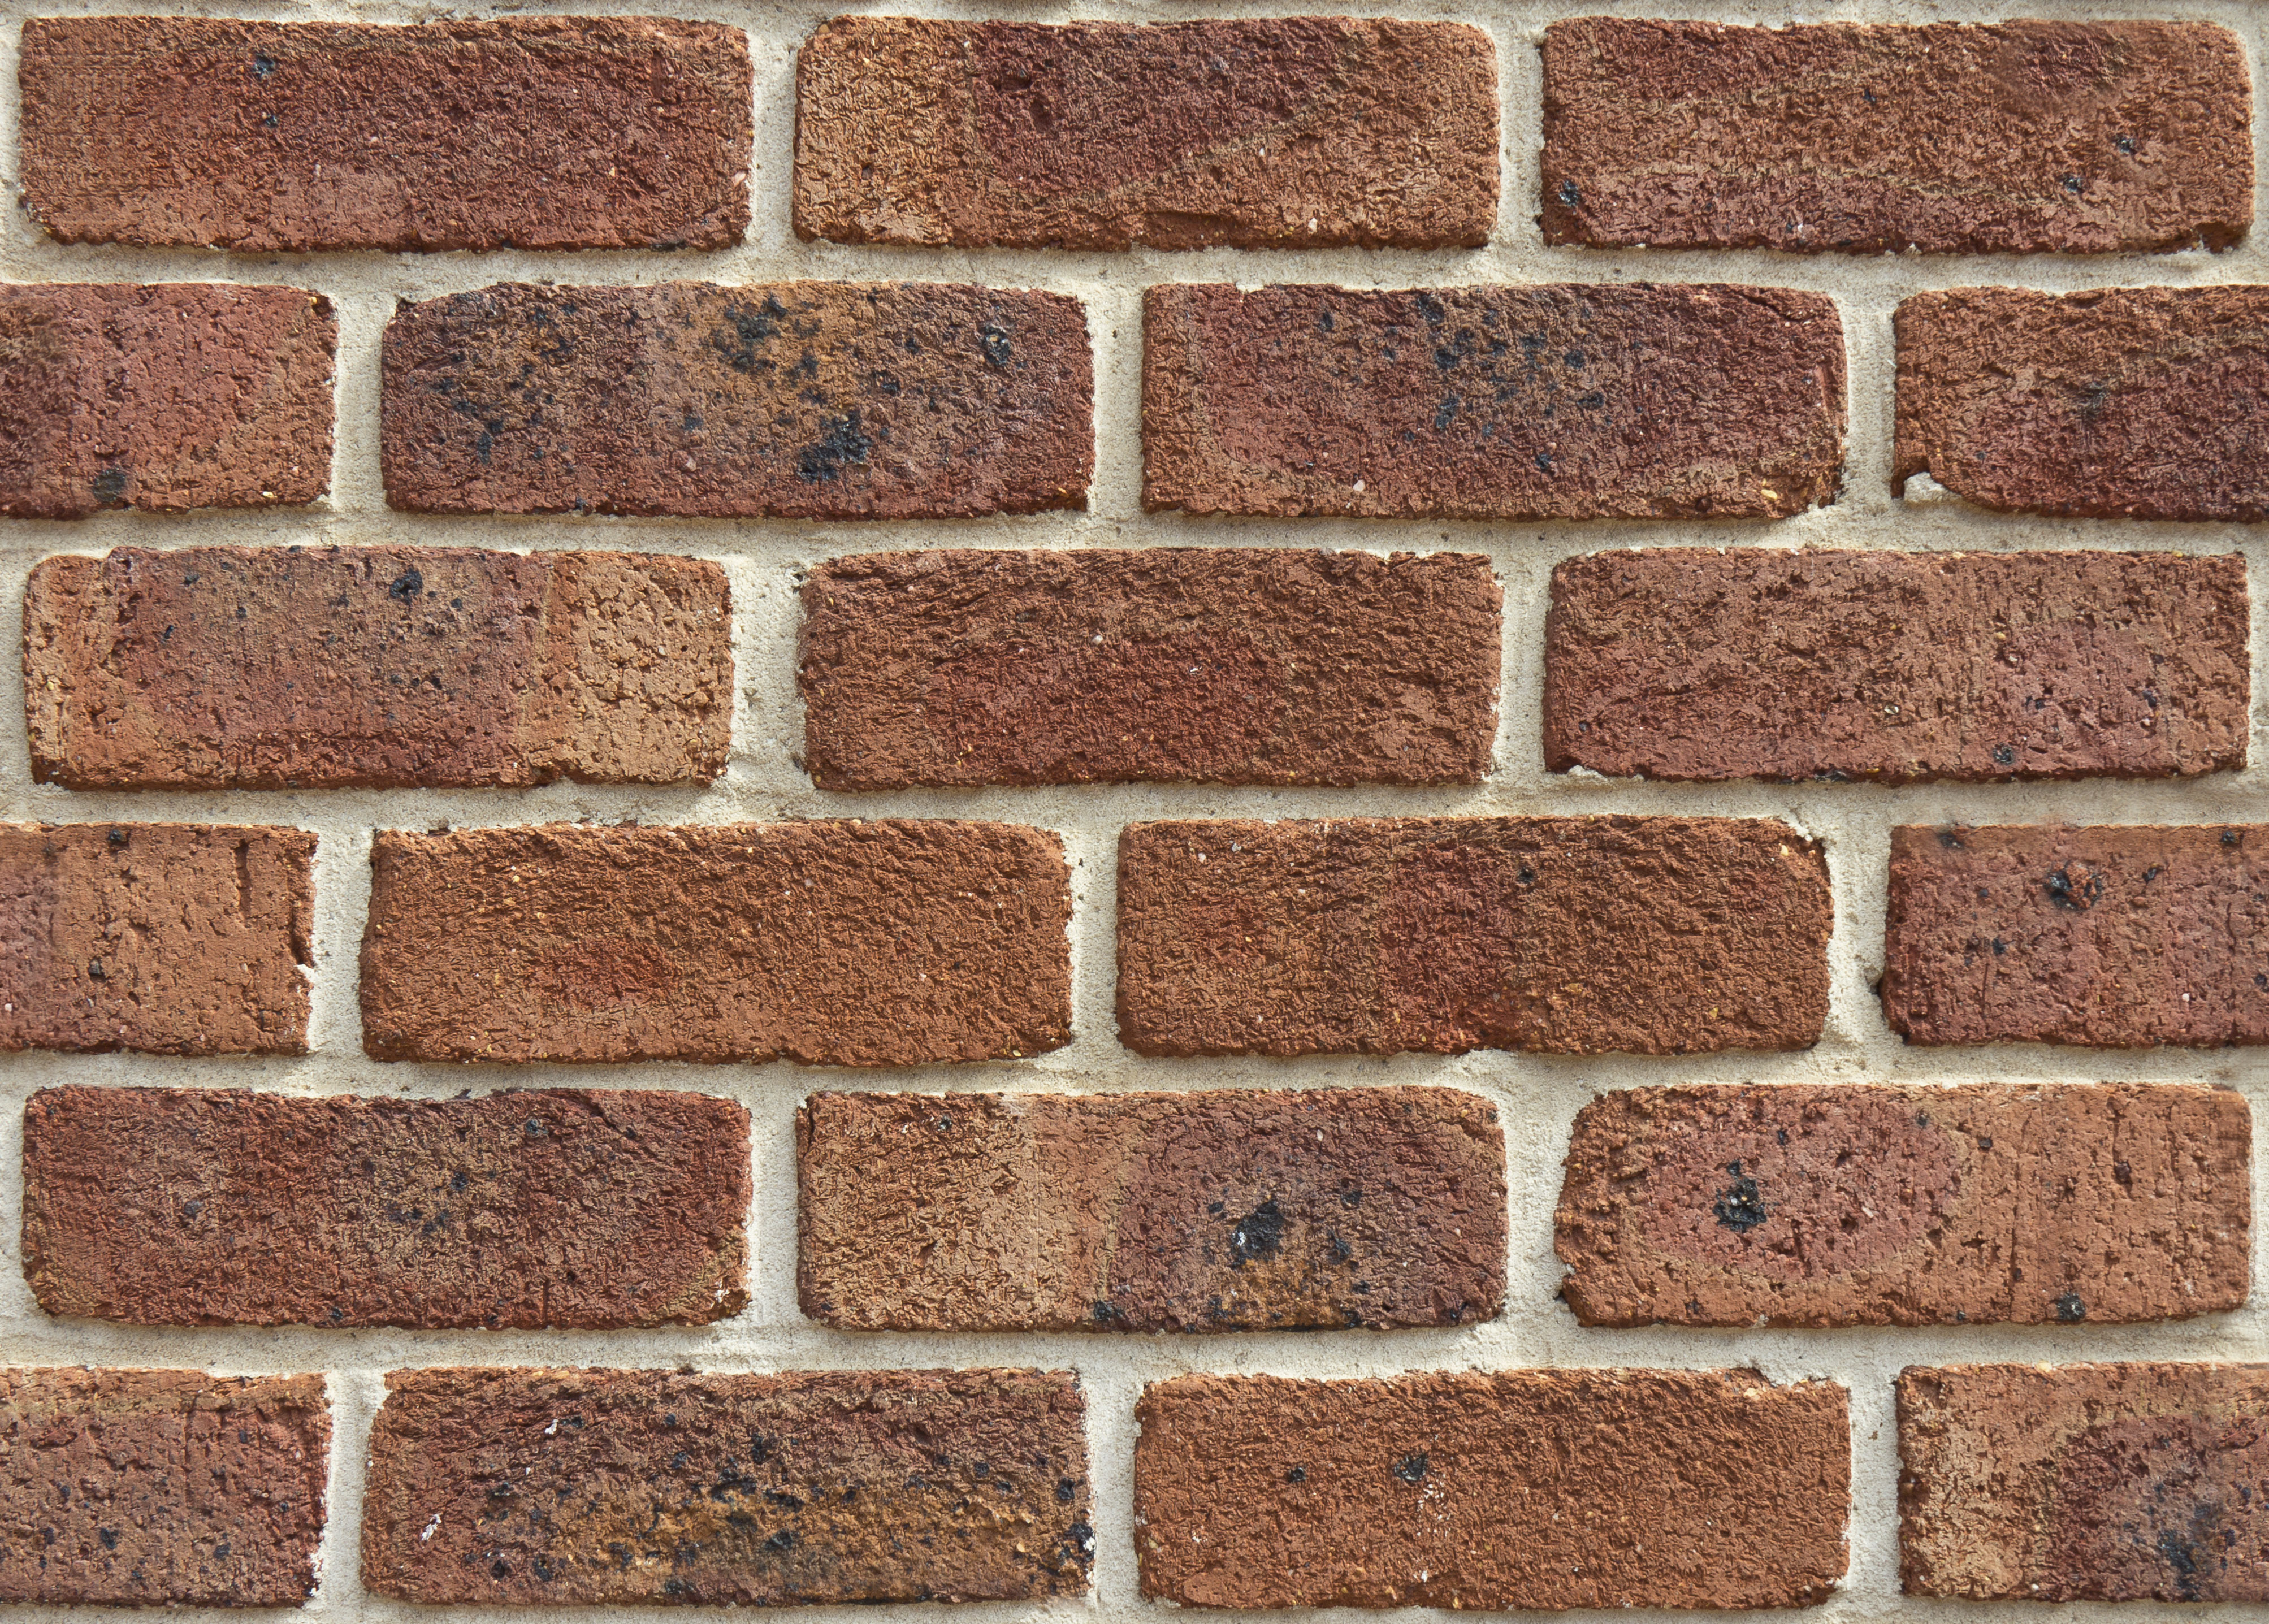
Bricks provide durable cladding for interior and exterior walls, chimneys, and fireplaces. But the mortar used to fill joints deteriorates over time—even if the bricks themselves are still in good shape. That’s where tuckpointing comes into play.
Used to cosmetically enhance the appearance of masonry, tuckpointing involves removing a portion of the deteriorated mortar, filling the joints with new mortar (that closely matches the color of the brick), and then applying a thin line of putty in a contrasting color down the center of the joint. This creates the illusion of well-maintained and narrow joints. Although tuckpointing can be applied to any type of brick construction, it’s most commonly found on historical brick homes, where the owners want to recapture the appearance of the home’s original thin joints.
Are you interested in protecting your worn bricks from mortar deterioration while giving them a new sharp look? Keep reading to learn everything you need to know about tuckpointing, including tips for proper installation.
To better understand the tuckpointing process, it helps to learn the following masonry terms:
• Pointing: The process of filling mortar joints during new construction. Pointing also refers to the actual mortar joints—or the spaces between the bricks—in a finished wall.
• Repointing: The process of removing old mortar from joints and replacing it with new mortar.
• Tuckpointing: The process of removing old mortar from joints, replacing it with mortar that closely matches the color of the bricks, and then embedding narrow lines of putty in a contrasting color (called “fillets”) down the centers of the new mortar joints.
While the terms “tuckpointing” and “repointing” are often used synonymously, the final products are aesthetically different. Both involve removing and replacing deteriorating mortar with fresh mortar, but repointing does not involve the additional step of applying contrasting lines in the centers of the joints. Some homeowners choose tuckpointing because it creates a crisper visual illusion. That’s because the mortar matches the color of the bricks; unless you examine the wall closely, you won’t notice where the mortar ends and the brick begins. The fillets further fool the eye into thinking the perfectly straight lines are the actual mortar joints, which makes the entire wall look as if it were constructed with crisp new masonry. On the other hand, repointing results in a soft and wavy appearance on the new mortar joints. The edges of the bricks won’t be perfectly square, and the repointed mortar highlights those discrepancies.
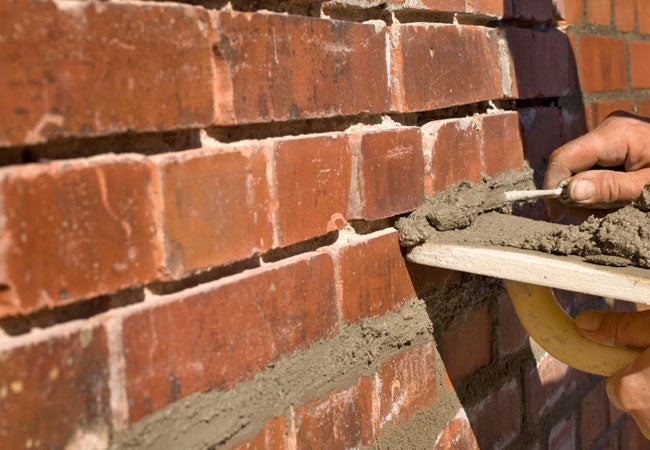
Photo: istockphoto.com
Before repairing the mortar, it helps to understand why mortar joints fail. The deterioration can have many different causes, including faulty workmanship, erosion from extreme temperature and moisture, or pressure from the overhead weight of the bricks. While bricks often last a century, the lifespan of mortar is typically 25 to 30 years—meaning it typically needs replacement or repointing more than once during the life of a brick building.
Since mortar joints are the weakest parts of a brick wall, it’s common to see cracks running through the joints, even if the bricks themselves remain whole. A few hairline cracks do not signify the need to repoint or tuckpoint, but when mortar begins to crumble and fall out of the cracks, homeowners should repair it before any additionally lost mortar affects the structure of the wall. What’s more, if the deteriorating mortar isn’t repaired, it could eventually cause the wall or chimney to collapse.
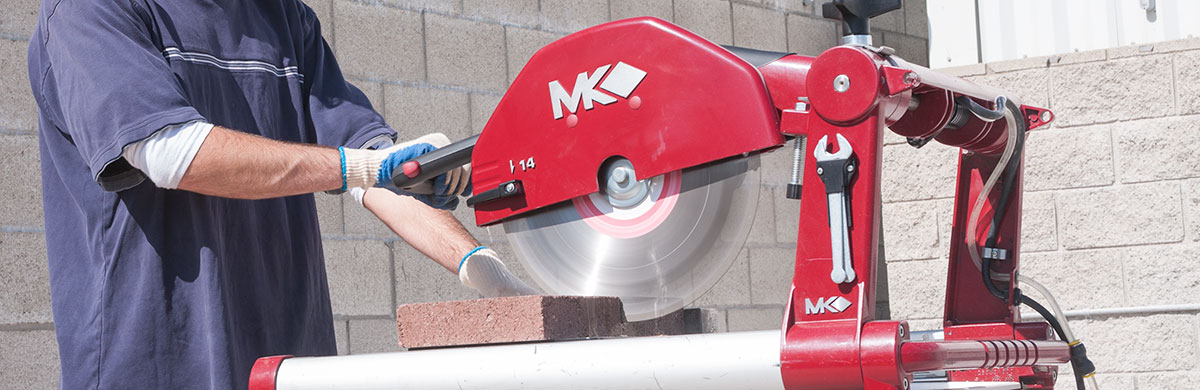
While homeowners can tackle tuckpointing as a do-it-yourself project, they should consider leaving it to a professional. The labor-intensive method requires extreme precision to create the illusion of level mortar joints. If the fillets used to create the finished joint effect are even slightly off-kilter, the whole project will look sloppy. Professional tuckpointing usually runs around $9 to $15 per square foot, depending on the height of the wall and the standard rate for mason services in your area. In contrast, if you decide to take the DIY route, the materials needed to tuckpoint (mortar and lime putty) will run less than $1 per square foot, and you can rent the necessary tools for around $45 per day. In any case, repointing and tuckpointing must be left to the pros if entire bricks need to be replaced—especially when dealing with exterior brick walls, which are often load-bearing. Installing or resetting new bricks is a more complicated process than repointing or tuckpointing on a structurally sound wall or chimney.
THE TUCKPOINTING PROCESS
Whether you decide to get your hands dirty or hire a professional, here are the steps involved in tuckpointing.
STEP 1
To start, remove the existing mortar joints to a depth of approximately one inch. Masons often use an angle grinder to remove the mortar, which is a messy job requiring a respirator mask. As an alternative, you can rely on the old-fashioned yet effective hammer and chisel, but this method is more time-consuming.
STEP 2
Brush dust and debris from the ground-out mortar joints with a masonry brush or high-pressure air nozzle.

flickr.com via Les Chatfield
STEP 3
Mix the new mortar to match the existing brick color. This entails blending with mortar pigment, and it often takes a bit of experimentation to get an exact match. Make sure to jot down the exact ratio of pigment to mortar in order to blend subsequent batches of the same hue.
STEP 4
Fill the joints with the new mortar, working with the horizontal joints first. It’s a good idea to observe a mason at work before attempting the job yourself since they employ tricks of the trade avoid getting mortar all over the bricks.
STEP 5
After applying the wet mortar to the joints, smooth it to resemble a flat surface or slightly indented curve (depending on your desired look).
STEP 6
When the new mortar begins to harden but is still semi-pliable, use a straightedge and a handheld tuckpointing tool to scrape straight lines in the centers of the newly filled joints. Try getting the lines as straight as possible
STEP 7
Carefully apply lime putty to the scraped lines to form contrasting fillets, then cut away the excess. A mason typically uses a straightedge and a small knife for this task, which results in uniform contrasting lines in the centers of the wider mortar joints.

Having dealt with MK Diamond Products and the Delahauts since the mid 1990’s it is sad to hear the news that they have closed their
I’ve told my wife and daughter to never follow a mortar mixer down the interstate. For over 30 years we have sold, rented, and repaired

This question is one of the most frequent mixer related questions our rental staff are asked. Our contractor customers know the importance of using the right tools for the job.
Trowel Trades, a company that specializes in equipment rental, tool retail, repair services, scaffolding and mast climber access solutions, enters the Silver Tier of the Masonry Alliance Program.